
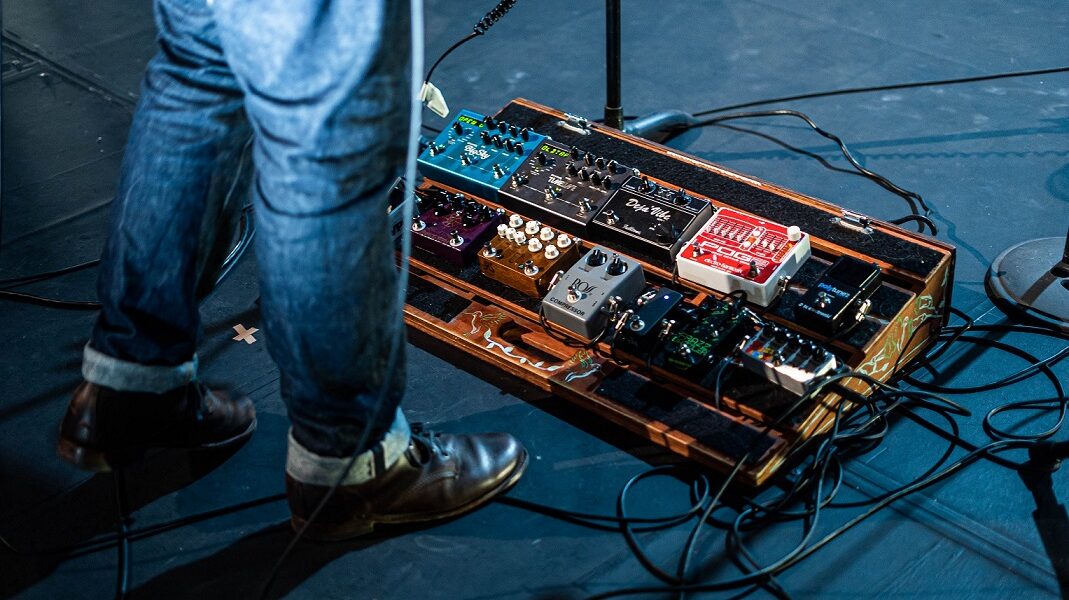
The art of crafting the perfect guitar tone often involves a multitude of effects pedals that shape and color your sound. However, with the growing complexity of your pedal board, cable management becomes crucial to ensure an organized setup and pristine signal flow. In this article, we’ll explore the world of cable management on your pedal board, delving into the importance of neat and efficient cable routing, various techniques to achieve it, and the tools to simplify the process. By mastering cable management, you can elevate your playing experience, reduce noise, and keep your creative flow uninterrupted.
Why Cable Management Matters
Cable management might not be the most glamorous aspect of your rig, but it plays a significant role in the overall performance and aesthetics of your pedal board. Here’s why it matters:
- Signal Integrity: Clean and organized cables help maintain the integrity of your guitar signal. Tangled or haphazardly routed cables can introduce unwanted interference, noise, and tone degradation.
- Efficiency: Proper cable management streamlines your setup and reduces the time it takes to set up or tear down your rig. This is especially crucial for live performances where quick transitions are essential.
- Visual Aesthetics: A well-organized pedal board not only performs better but also looks more professional. It can leave a positive impression on your audience, bandmates, or fellow musicians.
- Troubleshooting: When cables are organized, it’s easier to identify and address issues such as loose connections or faulty cables, reducing downtime during a performance.
Now, let’s explore some cable management techniques and tools to help you achieve a neat and efficient pedal board setup.
Cable Management Techniques
- Velcro Straps and Ties: Velcro straps and cable ties are versatile tools for securing and bundling your cables. Use them to group cables together and prevent tangling. Velcro straps are reusable, making them ideal for temporary setups, while cable ties provide a more permanent solution.
- Cable Channels: Some pedal boards come with built-in cable routing channels or gutters. These channels are designed to run cables underneath the pedal board, keeping them out of sight and neatly organized. If your pedal board doesn’t have built-in channels, you can create your own using cable clips or adhesive mounts.
- Zip Ties and Adhesive Mounts: Zip ties and adhesive mounts are ideal for affixing cables to the underside of your pedal board. Zip ties provide a secure and permanent solution, while adhesive mounts are a bit more flexible, allowing you to make changes to your setup more easily.
- Right-Angle Patch Cables: Right-angle patch cables are designed to minimize the space needed for connections between pedals. These low-profile cables help maintain a clean and efficient layout on your pedal board. They are available in various lengths to suit your needs.
- Labeling: Labeling your cables can be a time-saver when troubleshooting or making adjustments to your setup. Use colored tape or labels to identify each cable’s function or destination.
- Cable Length Management: Use the appropriate cable lengths to connect your pedals. Excessively long cables can create a cluttered look and may lead to signal degradation, while overly short cables can limit your layout options.
Tools for Cable Management
- Cable Clips and Mounts: Cable clips and mounts can be affixed to the underside of your pedal board, holding cables securely in place. They are particularly useful for routing power cables and audio cables neatly.
- Cable Snake or Wrap: A cable snake or wrap is a flexible, protective sleeve that encases a bundle of cables. It not only organizes your cables but also offers protection against wear and damage.
- Pedalboard with Cable Management Features: Some pedal boards are designed with cable management features, including cable routing channels, tie-down points, and even integrated power supplies. Investing in a pedal board with these features can simplify cable management.
- Cable Labels: Use cable labels or colored tape to mark your cables, making it easy to identify their purpose. This is especially helpful when dealing with a large number of cables on your pedal board.
- Power Supply with Multiple Outputs: Many modern power supplies for pedal boards come with multiple isolated outputs. These dedicated outputs help reduce cable clutter and eliminate the need for daisy-chaining multiple pedals.
Cable Management Tips
- Plan Your Layout: Before attaching any cables, plan the layout of your pedals and consider the most efficient cable paths. This will help you choose the right cable lengths and ensure a tidy arrangement.
- Secure Power Cables Separately: Keep power cables separate from audio cables to minimize the risk of electromagnetic interference. Power cables tend to generate more electrical noise, so routing them away from audio cables is essential.
- Use the “S” Method: When connecting multiple pedals, use the “S” method. Start by connecting the first pedal’s output to the second pedal’s input, then connect the second pedal’s output to the third pedal’s input, and so on. This method helps prevent excessive cable clutter.
- Regular Maintenance: Periodically check your cables for wear and tear, loose connections, or damage. Replacing worn cables and fixing loose connections will help maintain signal integrity.
- Use Color-Coded Cables: Invest in color-coded patch cables for your pedal board. This makes it easy to distinguish between different types of connections, such as guitar-to-pedal, pedal-to-amp, and effects loop cables. Color-coding helps with quick troubleshooting and reconfiguration.
- Custom-Length Cables: Instead of using standard-length patch cables, consider making custom-length cables for your specific setup. This minimizes cable excess, reducing clutter and the risk of signal interference.
- Separate Your Signal Chains: If you have multiple signal chains (e.g., clean and distorted), consider organizing your pedals and cables into separate sections on your pedal board. This can help prevent signal contamination and make it easier to switch between different tones.
- Label Your Pedal Inputs and Outputs: Mark your pedals with labels indicating which jacks are the input and output. This ensures that you consistently connect your pedals in the correct order, which is crucial for achieving the intended sound.
- Secure Loose Cables: Attach any loose or dangling cables to your pedal board. Loose cables can get snagged, disconnected, or damaged during transport, so keeping them secured is essential.
- Consider Cable Ramps: Cable ramps are elevated platforms that allow you to route your cables neatly underneath your pedal board. This method not only organizes your cables but also protects them from foot traffic.
- Route Cables Away from High-Traffic Areas: Keep your cable paths away from areas where you frequently step or move your feet. This reduces the risk of accidentally disconnecting cables during a performance.
- Label Your Power Supply Outputs: If your power supply has multiple outputs, label each output to indicate which pedal it powers. This makes it easier to identify which cables belong to the power supply, simplifying troubleshooting and setup.
- Use Cable Management Accessories: Explore the wide range of cable management accessories available, such as cable trays, adhesive cable clips, and cable tie mounts. These accessories can help you achieve a clean and organized setup.
- Opt for High-Quality Cables: Invest in high-quality, shielded cables for your audio connections. Quality cables can reduce the risk of interference and ensure the best possible signal transfer.
- Minimize Excess Cable Length: Avoid creating unnecessary loops or slack in your cables. Minimizing excess cable length reduces clutter and makes your pedal board setup look more professional.
- Custom Cable Labels: Consider creating custom labels for your cables using a label maker or printable labels. These labels can include information about the cable’s purpose, length, and destination.
- Organize Your Power Cables: Bundle your power cables neatly and keep them separate from your audio cables. This separation minimizes the risk of noise interference from power cables.
- Double-Check Connections: Before performing, double-check all cable connections to ensure they are secure. Loose cables or jacks can cause disruptions during a performance.
- Regularly Inspect and Maintain: Periodically inspect your cables and cable management setup. Replace any damaged or worn cables and address any cable management issues to keep your pedal board in top shape.
By implementing these additional cable management tips and best practices, you can achieve a highly organized and efficient pedal board setup that not only enhances your sound but also simplifies your workflow. A well-managed pedal board allows you to focus on your music and creativity, free from the distractions of tangled or unreliable cables.